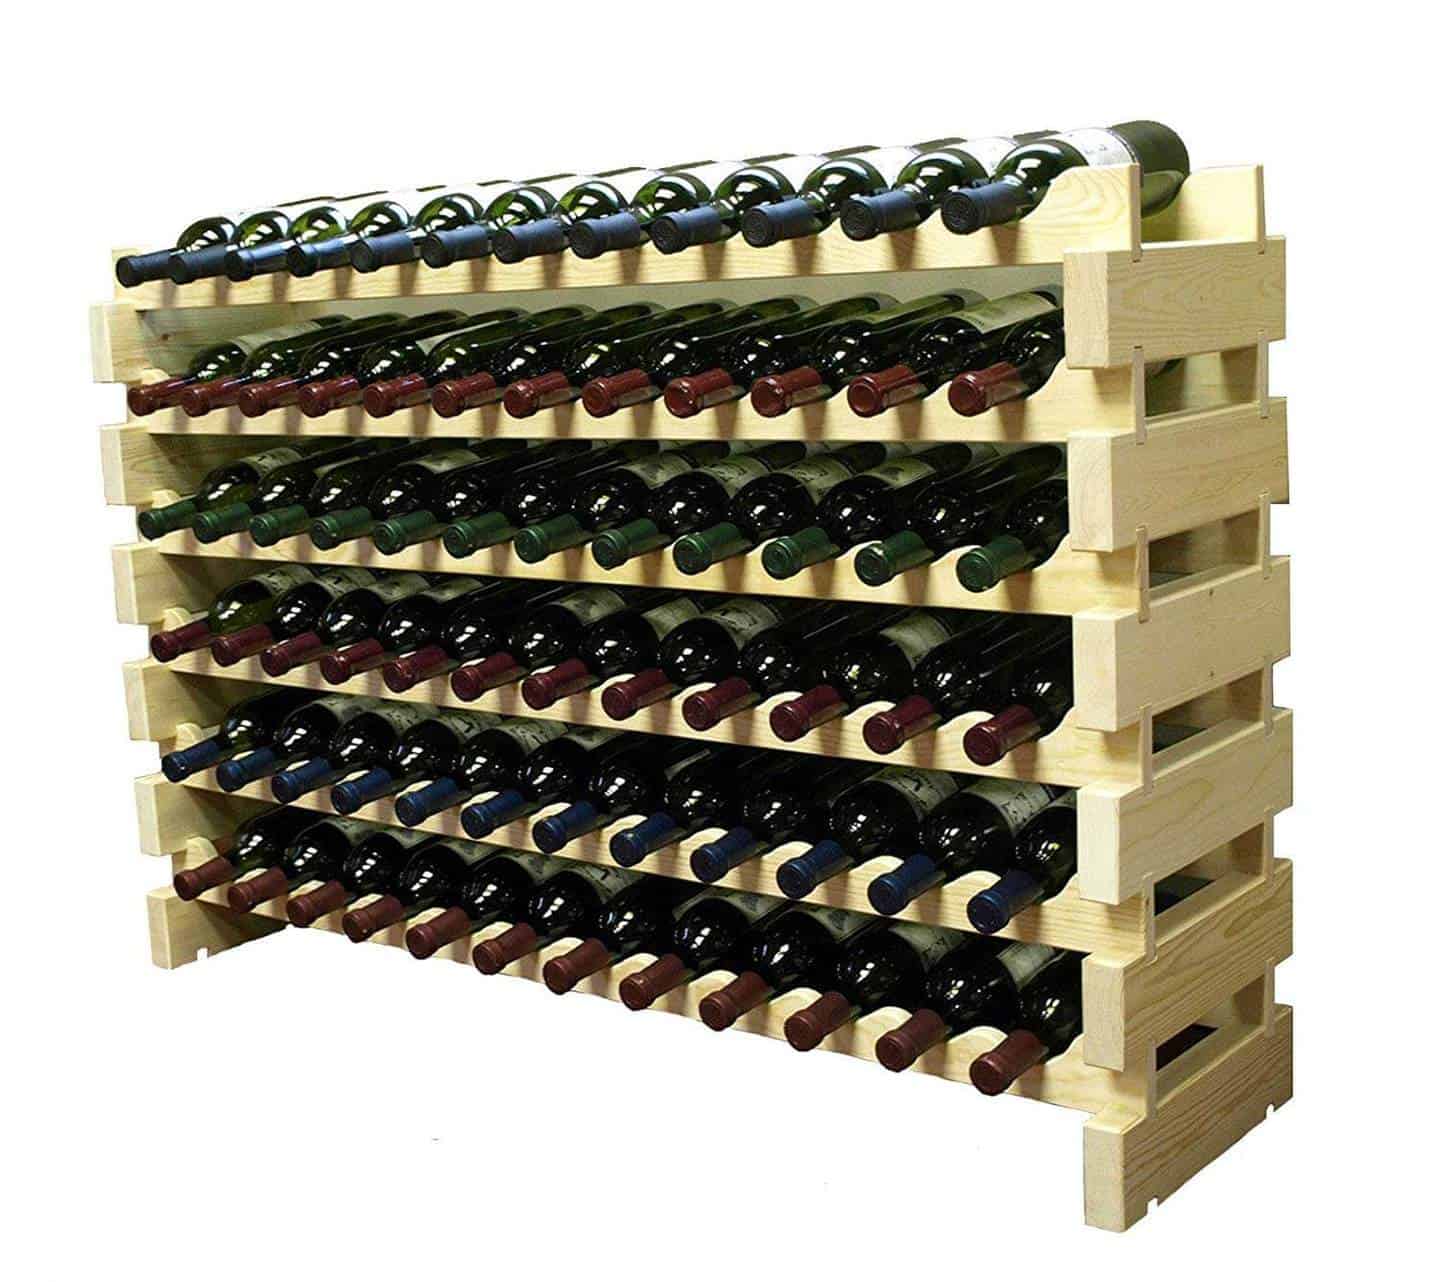
Wooden Wine Racks That Look Expensive but Are Easy to Build
Have you ever admired those sleek, stylish wine racks you see in magazines and home design blogs? They look luxurious and expensive, but you might be hesitant to invest in them. Don't worry! You can achieve that same sophisticated look without breaking the bank. Building your own wine rack is a rewarding and surprisingly simple project, and it’s a great way to add a touch of personalized charm to your home. In this guide, we'll walk you through creating a stunning wine rack that will impress your guests and elevate your home decor, all while keeping your budget in check.
Choosing the Right Wood
The wood you select plays a crucial role in both the aesthetics and the longevity of your wine rack. For a timeless and elegant feel, consider hardwoods like:
- Oak: A classic choice known for its durability, rich grain patterns, and warm tones. Oak is a popular choice for wine racks because it stands up to wear and tear and adds a touch of rustic elegance.
- Walnut: With its stunning dark brown hues and intricate grain patterns, walnut exudes sophistication and a touch of luxury. It's perfect for creating a refined and elegant look for your wine rack.
- Cherry: Known for its reddish-brown tones and beautiful grain patterns, cherry wood adds a warm and inviting feel to your wine rack. It's a fantastic choice for those seeking a more traditional and elegant look.
If you prefer a more budget-friendly option, consider using pine, maple, or birch. These softer woods are easier to work with and readily available at most lumberyards. However, they may require a bit more attention to finishing and care to ensure durability.
Essential Tools and Materials
Before embarking on your wine rack building journey, gather these essential tools and materials:
- Wood: Choose your preferred wood species and purchase the necessary dimensions for your rack.
- Saw: A circular saw or a miter saw will help you accurately cut the wood to size.
- Drill: A cordless drill with various drill bit sizes will be needed for creating holes and attaching the components.
- Screwdriver: A Phillips-head screwdriver is a must-have for assembling the rack.
- Sandpaper: Use different grits of sandpaper to smooth out the wood and create a consistent finish.
- Wood glue: For bonding the wood pieces together.
- Wood stain or paint (optional): To enhance the natural beauty of the wood or to add a pop of color.
- Finish (optional): A polyurethane or varnish to protect the wood and provide a lasting sheen.
- Measuring tape: For accurate measurements.
- Level: To ensure your rack is perfectly straight.
Simple Wine Rack Designs
Here are a couple of simple wine rack designs that are perfect for beginners.
Classic Shelf Wine Rack
This design is straightforward and can be customized to accommodate different wine bottle sizes.
- Cut the wood: Start by cutting your wood to the desired dimensions. For example, you could cut two long pieces for the sides, two shorter pieces for the top and bottom shelves, and then cut pieces for additional shelves based on the height of your bottles.
- Assemble the shelves: Using wood glue and screws, secure the shelves to the sides. Be sure to keep the shelves level.
- Sand and finish: Once your rack is assembled, sand the entire surface to create a smooth finish. Then, apply a stain or paint if desired.
- Protect the wood: Apply a polyurethane or varnish to seal the wood and protect it from spills and scratches.
Vertical Wine Rack
A vertical wine rack offers a space-saving solution and adds visual interest to your wall.
- Cut the wood: You'll need to cut wooden slats or boards to create the vertical supports for your bottles.
- Secure the supports: Using screws and wood glue, attach the vertical slats to a base board.
- Add supports (optional): You may want to add additional horizontal supports for extra stability.
- Sand, stain, and finish: Smooth the rack with sandpaper, and then stain or paint the wood as desired. Apply a protective finish for durability.
Tips for Building a Wine Rack
Here are some additional tips to ensure your DIY wine rack turns out perfectly:
- Plan your design: Before you start cutting wood, sketch out your wine rack design on paper. This will help you visualize the final product and calculate the necessary materials.
- Use a saw guide: If you’re using a circular saw, use a guide to ensure precise cuts.
- Pre-drill holes: Before driving screws into the wood, pre-drill holes slightly smaller than the screw size to prevent splitting.
- Sand between coats: If you’re staining or painting the wood, sand between coats to create a smooth and even finish.
- Let it dry: After applying glue, stain, or finish, allow it to dry completely before handling the rack.
Enjoying Your DIY Wine Rack
Building your own wine rack is a fulfilling project that will allow you to showcase your favorite bottles in style. You’ll have a unique piece of furniture that complements your decor and serves as a conversation starter. So, gather your tools, choose your wood, and unleash your creativity. You'll be surprised at how easy it is to build a stunning wine rack that will make your home feel even more inviting.
0 comments:
Post a Comment